
Last updated November 22, 2026
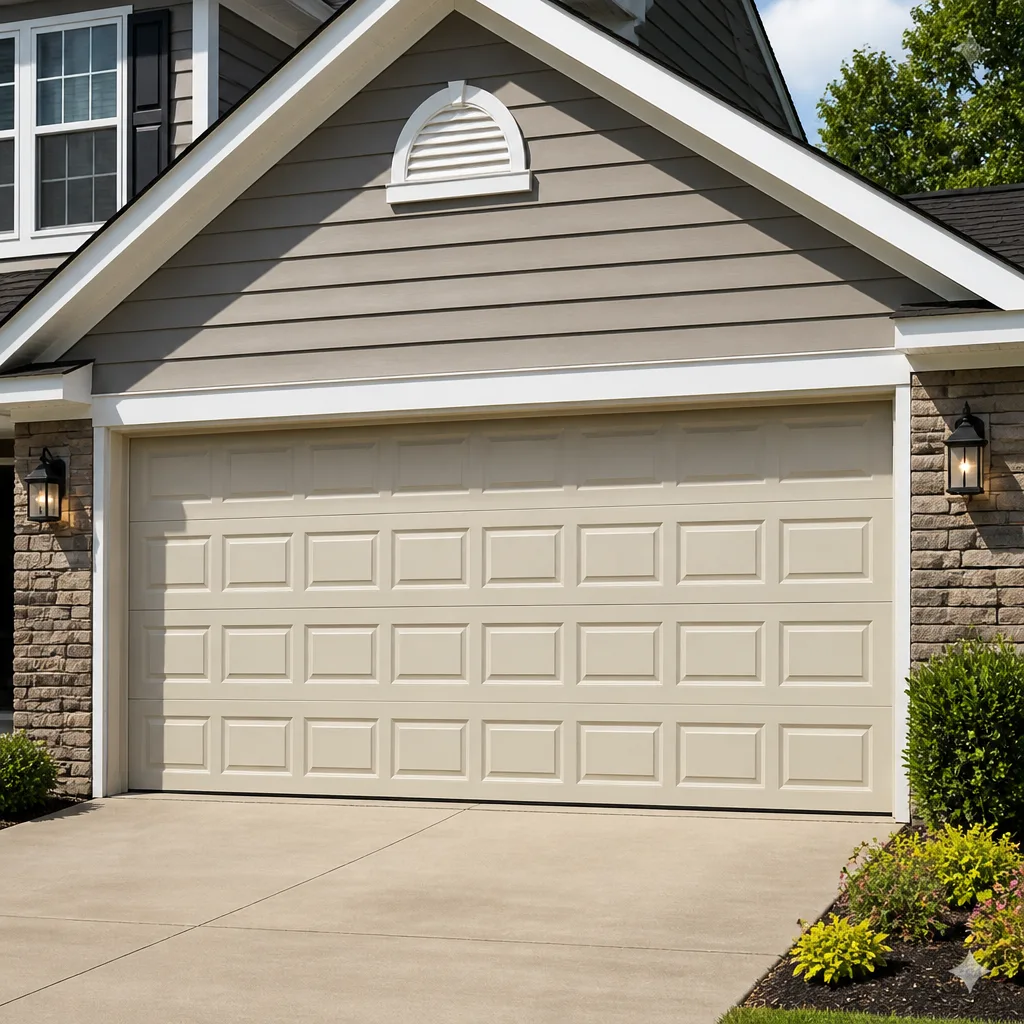 Raised-panel steel
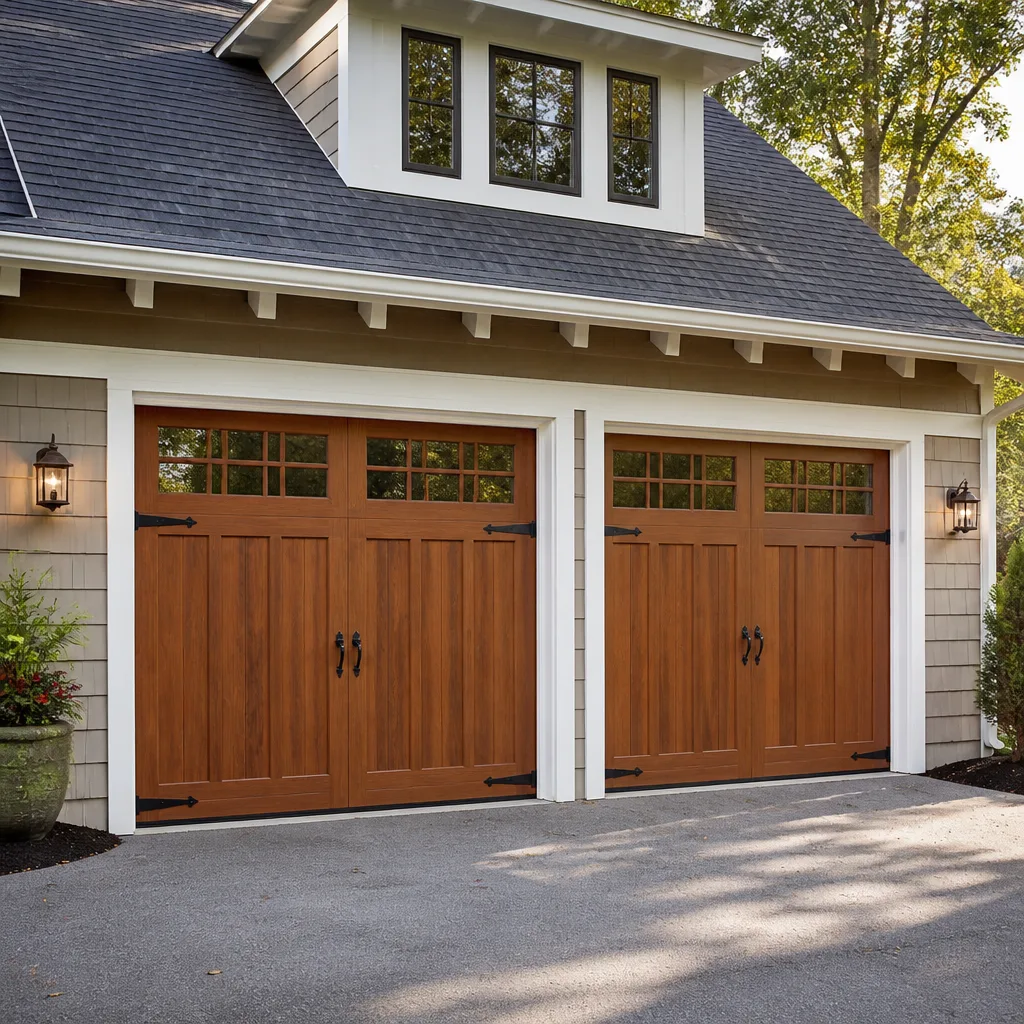 Carriage house
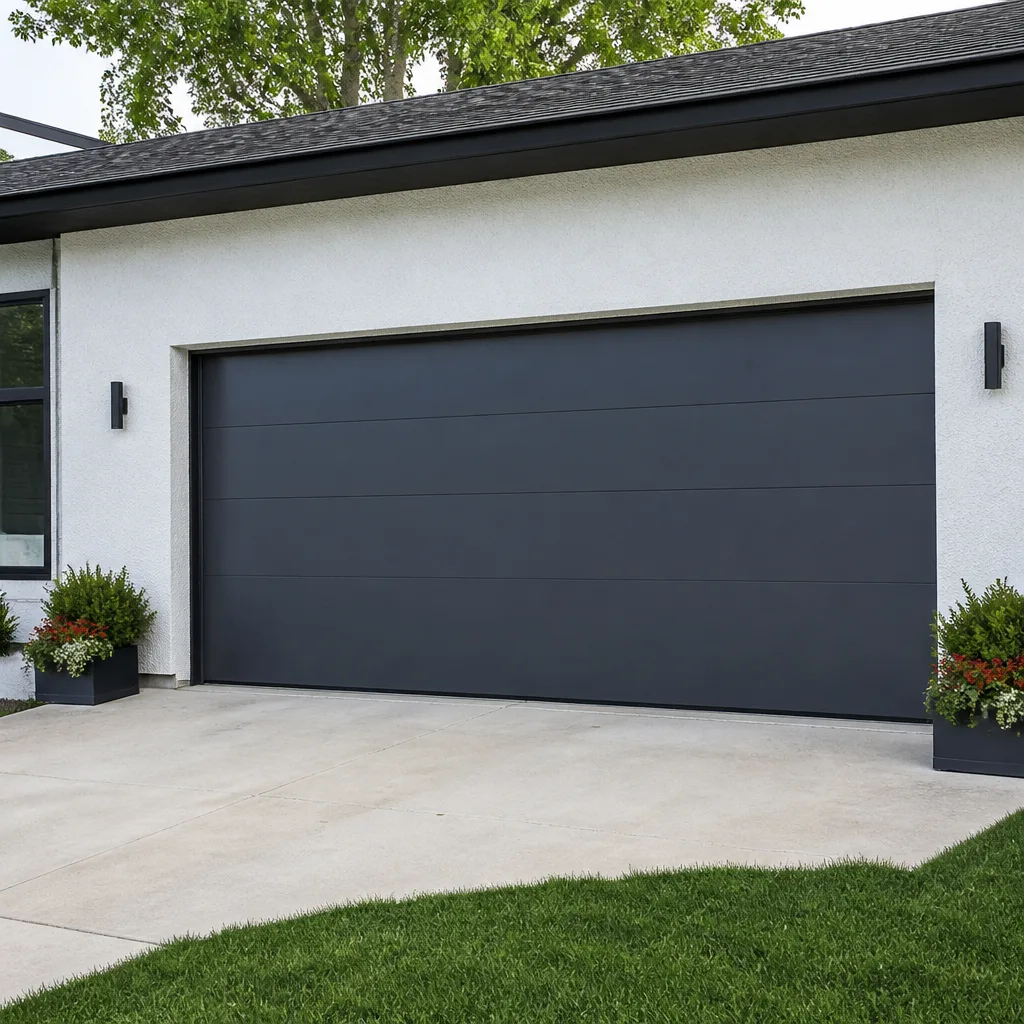 Modern flush
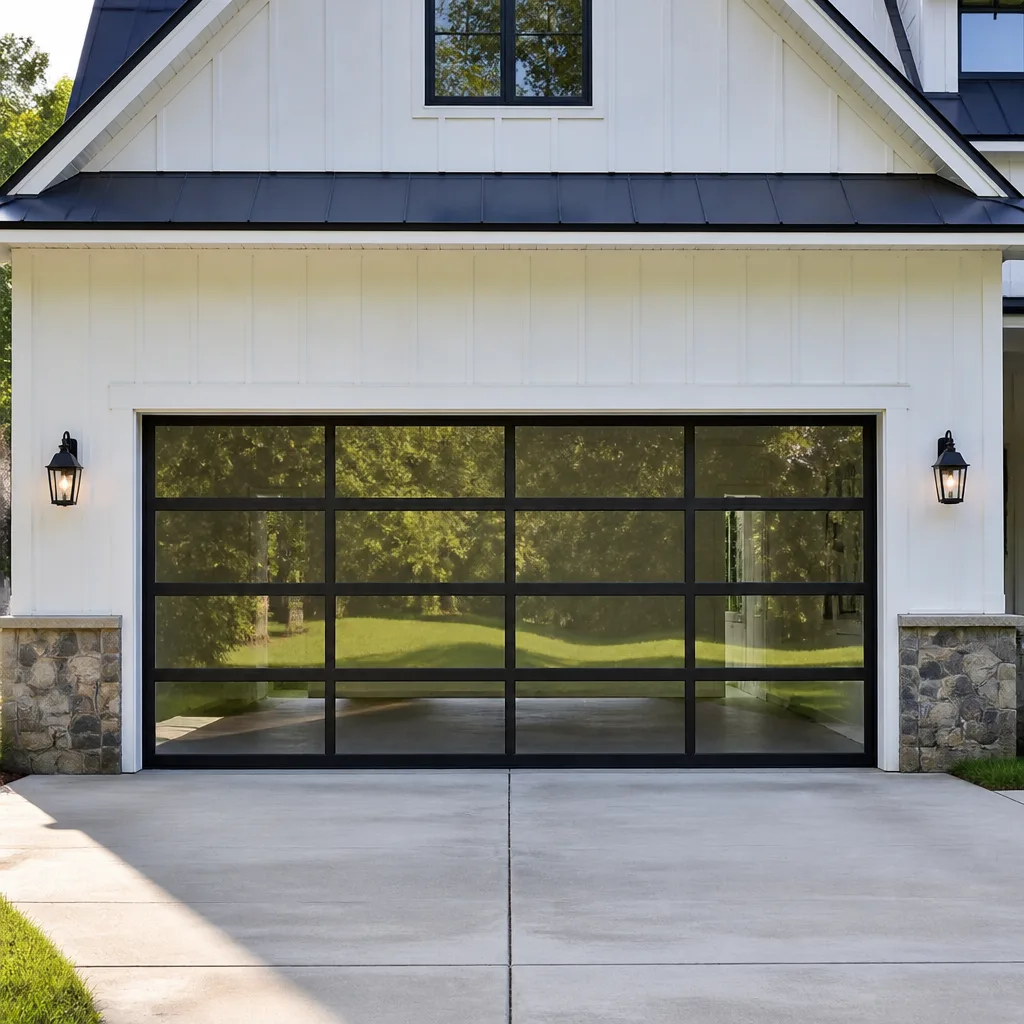 Full-view glass
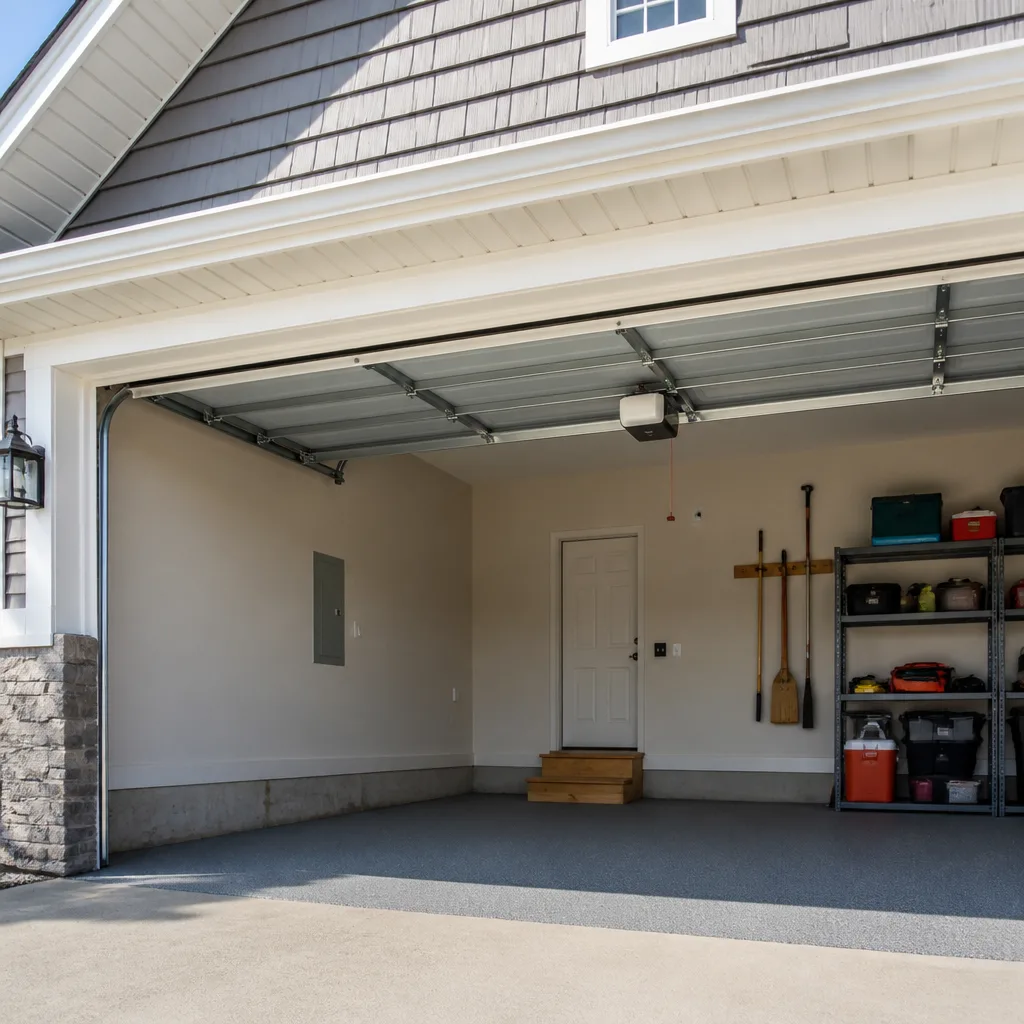 LiftMaster openers
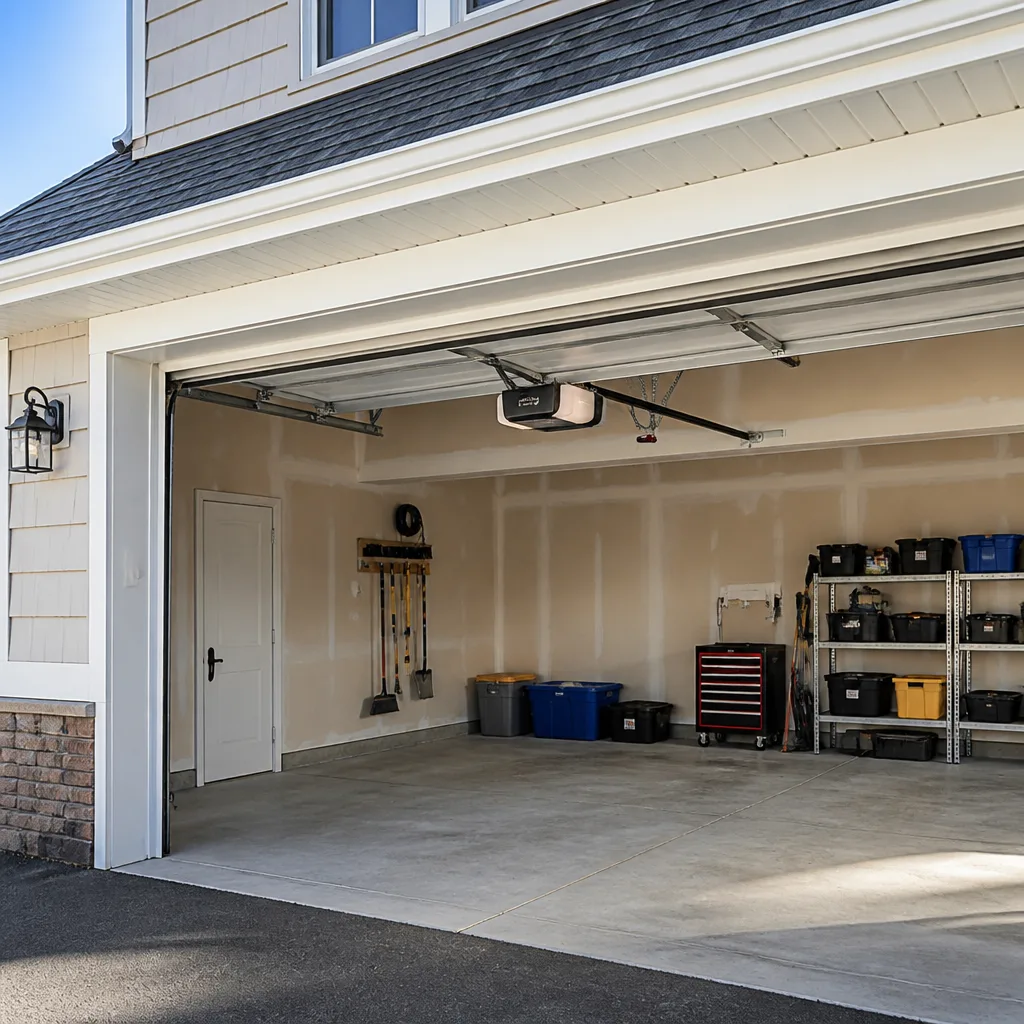 Chamberlain openers
Full 25-point door and opener safety check with every visit - springs, cables, rollers, tracks, and your LiftMaster or Chamberlain opener included
You get a price before we start. It does not change when the pro arrives.
Get your free estimateDIY vs Professional Garage Door: The Suffolk Homeowner’s Decision Guide
Most guides to garage door work treat DIY versus professional as a question of confidence. If you’re handy enough, they suggest, go ahead and try it. That framing gets people hurt. The real dividing line isn’t skill level at all – it’s physics and liability. Torsion springs store enough energy to break a wrist or take out an eye when released improperly, and that single fact redraws the map of what a homeowner should touch. Some garage door jobs are genuinely weekend-friendly. Others belong to a trained technician, full stop. This guide sorts every common task into one of those buckets for Suffolk homeowners, covers what the tools actually cost, and explains how Virginia treats the work you do yourself.
Quick Answer
In Suffolk, DIY garage door work makes sense for lubrication, weather seal replacement, safety sensor alignment, and remote or keypad programming. Everything involving torsion or extension springs, cables, drums, bottom brackets, and track realignment under tension should go to a trained technician because the stored energy can cause serious injury. Panel swaps and opener replacements sit in the middle: safe in theory, but commonly done in a way that voids the manufacturer’s warranty.
Styles & brands we work with
- Raised-panel steel
- Carriage house
- Modern flush
- Full-view glass
- LiftMaster openers
- Chamberlain openers
Table of Contents
- Where the DIY Line Actually Sits in Suffolk
- What You Can Genuinely Do Yourself
- The Gray Zone: Tools, Cost, and Honest Math
- Why Springs and Cables Are a Hard No
- How Virginia Liability Law Treats Homeowner Work
- The Tasks That Quietly Void Your Warranty
- DIY Versus Pro: Five Common Repairs Compared
- Common Mistakes to Avoid
Where the DIY Line Actually Sits in Suffolk
The garage door is the largest moving object in almost every Suffolk home, and it’s also the one piece of equipment homeowners understand least. A door in the Riverfront district on a 1990s house and a door in Harbour View on a recent build can look identical from the driveway and behave completely differently, because the spring system underneath is rated for a specific door weight and cycle count. That mismatch is where most DIY attempts go wrong.
Here’s the honest sorting rule we use: if the repair requires you to manage stored mechanical energy, it belongs to a professional. If it’s a matter of alignment, cleaning, sealing, or electronics, it’s yours to handle. The categories are sharper than the generic advice suggests.
- Homeowner-friendly: lubricating hinges, rollers, and tracks; replacing the bottom weather seal; clearing obstructions from the safety sensors; programming remotes and keypads; tightening hinge and bracket bolts that have worked loose; touching up paint and cleaning panels.
- Gray zone: replacing a single damaged panel; swapping an opener; adjusting track brackets when a door is fully down and unloaded; replacing rollers.
- Professional-only: torsion spring replacement, extension spring replacement, cable replacement, drum and bottom bracket work, and any correction of a door that has come off its tracks under load.
That last category isn’t about whether you’re capable. It’s about what happens if a cable slips or a spring lets go while your hands are in the mechanism. We’ve seen the aftermath, and it’s never a quick cleanup.
What You Can Genuinely Do Yourself
Suffolk’s climate does most of its damage to garage doors slowly rather than dramatically. Humidity through the warmer months works on hinges and rollers, driving grit into the track and turning what should be a smooth roll into a grinding one. Winter cold tightens seals and makes old weatherstripping brittle. None of that requires a technician to fix, and the routine maintenance genuinely extends the life of the door.
Here’s a maintenance routine that’s safe and worth doing:
- Lubricate twice a year. Use a garage door lubricant, not WD-40, on hinges, rollers, and the torsion bar bearings. Wipe the tracks clean rather than greasing them – grease in the track collects grit and accelerates wear.
- Test the balance. Disconnect the opener with the release cord, lift the door halfway, and let go. A balanced door stays put. One that slams down or drifts up needs professional adjustment.
- Check the safety sensors. With the door open, pass an object through the sensor beam. The door should reverse. If it doesn’t, clean the lenses first, then check alignment.
- Inspect the bottom seal. A worn seal lets water and pests in and puts extra load on the opener. Replacement takes about twenty minutes with the right width.
- Test the manual release. Make sure the cord works smoothly and the door can be lifted by hand. If it can’t, something is wrong internally.
If any of these checks reveal a problem in the spring, cable, or track system, stop there. That’s the point where garage door repair becomes a call rather than a project.
The Gray Zone: Tools, Cost, and Honest Math
The gray zone is where homeowners spend the most money learning a lesson. These jobs look manageable, and in a mechanical sense they are – but the tooling required to do them safely often costs more than the repair itself. That math rarely gets spelled out, so here it is.
The tools needed to change a torsion spring safely are specific:
- Two properly sized winding bars – usually a matched pair, not improvised from screwdrivers or punches.
- A torsion spring scale or door weight calculation to confirm you’re installing the correct spring for your door’s weight and height.
- A socket and wrench set sized for the set screws on the drums and center bracket.
- Safety glasses and cut-resistant gloves – the minimum, not the maximum.
- A clamp or locking pliers for securing the door during the swap.
Add up the winding bars, the scale, and a proper socket set and you’re already in a range where the tool investment alone approaches the cost of a professional spring replacement. Unless you plan to change springs on multiple doors over the years, the tools sit in the garage and do nothing. Meanwhile the risk doesn’t go away just because you bought the right gear.
The other gray-zone jobs – panel replacement, opener swaps – have a different problem. The parts fit, but the calibration doesn’t happen on its own. A new opener paired with an older door needs the travel limits, force settings, and safety reverse set correctly. That’s where a Genie or LiftMaster unit either runs smoothly for years or starts tripping its own safety system every third cycle.
Why Springs and Cables Are a Hard No
Torsion springs are under tension at all times, even when the door is closed. That stored energy is what lifts a door that weighs well over a hundred pounds and does it thousands of times over its life. When a spring fails during a repair rather than in normal operation, the release is sudden and the mechanism is unforgiving.
The same applies to the cables and drums that transfer spring tension to the door. Cables under load can snap with enough force to cause serious injury, and the bottom bracket is one of the most hazardous points on the entire assembly. No homeowner should be working near it with a wrench while the door is under spring tension.
This is why we treat spring work as its own service line rather than a line item on a general repair list. garage door spring repair is a job for a trained technician with the right bars, the right spring, and the right sequence. Practically speaking, there are only a few things a homeowner should do when a spring fails:
- Stop using the door entirely, including the opener.
- If the door is stuck open, secure the opening before you leave it – a garage door that won’t close is an open door to your home.
- Keep children and pets away from the mechanism.
- Call a professional. If the door won’t move at all, that’s an emergency service call, not a scheduled repair.
One note on cost: springs are usually replaced in matched pairs, because a spring that fails is almost always accompanied by a twin that’s the same age and cycle count. If you’re quoted for one, ask whether the second is being replaced. A pair costs roughly twice a single spring because you’re buying two.
How Virginia Liability Law Treats Homeowner Work
Homeowners in Virginia are generally permitted to perform maintenance and repair work on their own property, and there’s no licensing requirement for doing your own garage door work on a home you own and occupy. Where this gets uncomfortable is the question of what happens if the work later fails and someone gets hurt or something gets damaged.
If a garage door you repaired yourself drops on a family member or a visitor, your homeowner’s insurance is the first place liability lands. Some policies exclude damage from faulty workmanship – meaning the door itself might not be covered – while still covering injury to others. That distinction matters. A door that fails because of an improper spring installation can fall into an exclusion in some policies, and you may not discover that until you file a claim. Read your own policy or ask your agent; the answer depends on the carrier and the specifics of your coverage.
If you sell the home, the calculus changes again. Virginia’s residential property disclosure requirements mean you’ll be asked about known defects, and improperly repaired garage door mechanisms can become a negotiating point. A repair that leaves the door working but out of spec is a liability that travels with the house.
There’s also the permit question. Most cities require a permit for structural changes and for new construction, but routine repair generally doesn’t require one. If you’re replacing an entire door or altering the opening, ask Suffolk’s building department directly – they’ll tell you what applies to your address. We don’t guess at code requirements, and neither should you.
The practical upshot: DIY work that goes well is free. DIY work that goes wrong can cost more than the professional repair would have, in insurance complications, disclosure issues, and injury. That’s not a scare tactic. It’s the risk profile.
The Tasks That Quietly Void Your Warranty
Manufacturer warranties on garage doors and openers are specific about what they cover, and they’re equally specific about what voids them. Homeowners usually find out after the fact.
- Opening the sealed opener housing. Once you’ve removed the case on a Genie, Chamberlain, or Craftsman unit to look at the gears or logic board, the warranty is typically gone. Opener repairs that require opening the unit belong to a technician.
- Adjusting the torsion spring balance yourself. Repositioning the drums or re-tensioning the spring without the right tools is often treated as improper installation by the manufacturer.
- Installing a new opener on an older door without recalibration. The door and opener warranties both depend on the system working together as specified. Pairing a modern opener with a door that hasn’t been rebalanced can void coverage on both.
- Replacing a single panel with a mismatched part. Clopay and Amarr both specify that replacement panels must match the original model and profile. A visually similar panel is not the same panel, and misaligned sections put load on the rest of the door.
- Modifying the track or brackets. Re-drilling or re-bending track brackets to “make it fit” is one of the fastest ways to end a warranty claim on a door that’s only a few years old.
The pattern here is that the visible work looks fine, so homeowners assume the warranty is intact. The failure shows up two years later when a hinge cracks or an opener motor burns out and the claim is denied.
This is part of why we work on the brand you already have rather than steering you toward a replacement. Our technicians are factory-familiar with LiftMaster, Chamberlain, Genie, Clopay, Amarr, Wayne Dalton, Craftsman, and Raynor systems, and that means the repair stays within the manufacturer’s spec rather than around it. Opener systems get the same treatment through garage door opener repair, whether you’re running a modern smart-home unit or an older legacy opener that still has plenty of life in it.
DIY Versus Pro: Five Common Repairs Compared
Here’s the comparison most guides skip. The DIY number isn’t just the part – it’s the part plus tools plus your time plus the risk that the repair needs to be redone. The pro number is the written estimate for the job, and that’s the number you pay.
The pricing below reflects typical estimated ranges for the Suffolk market. A written estimate always sets the final price for your specific door, spring, and site conditions.
| Repair | Typical DIY Total | Typical Pro Estimate | Verdict |
|---|---|---|---|
| Bottom weather seal replacement | Low parts cost, minimal tools | Small job, usually folded into a larger visit | DIY is reasonable |
| Safety sensor alignment | Effectively free | Minor repair scope | DIY is reasonable |
| Single panel replacement (Clopay / Amarr) | Panel cost plus shipping, plus risk of mismatch | Typically a few hundred dollars per section depending on model | Pro, for warranty reasons |
| Opener replacement (LiftMaster / Genie) | Unit cost plus install time, plus calibration risk | Typically several hundred dollars installed, depending on opener and door | Pro, for calibration and warranty |
| Torsion spring replacement (pair) | Spring pair plus winding bars plus spring scale plus injury risk | Typically mid-hundreds for a pair, with the safety margin included | Pro, always |
The pattern in that table is that the gray-zone jobs flip to pro once you add tools and warranty exposure, and the professional-only jobs were never really a contest. For the typical Suffolk repair, the difference between DIY and pro is often smaller than the cost of doing it twice.
What a Professional Visit Actually Involves
Homeowners who’ve never called for service often expect someone to show up, look at the door, and guess. That’s not how it works for a garage door specialist. The process is diagnostic and structured.
- Full system inspection. Springs, cables, drums, rollers, hinges, panels, and the opener head are all checked, not just the part you called about. A door that fails on one component is often close to failing on another.
- Balance and force test. The door is disconnected from the opener and tested by hand. If it doesn’t stay where you put it, the spring tension is wrong regardless of what the opener is doing.
- Safety reverse test. Both the sensor beam and the force-based reverse are tested. This is the part that protects children and pets, and it’s not optional.
- Written estimate before any work begins. The price is quoted and agreed before a technician touches the door. That’s not a courtesy; it’s the difference between a repair and a surprise.
- Repair, then re-test. After the repair, the balance, force, and safety reverse are re-checked. A door that isn’t tested after the repair isn’t really repaired.
For a stuck door or a snapped spring, the same process happens faster. Emergency garage door service is a core part of what we do because a door that won’t close leaves a home open to the street, and a door that won’t open traps a car in the garage. That’s not a wait-until-next-week situation.
Our technicians have up to 9 years of experience, and in that time they’ve worked on the full range of systems that show up in Suffolk homes – modern myQ-compatible openers, older Chamberlain and LiftMaster units, Genie chains and belts, and doors from Clopay, Amarr, Wayne Dalton, Craftsman, and Raynor. The brand compatibility matters because a repair that works with your existing system is a repair that holds.
Common Mistakes to Avoid
- Using screwdrivers as winding bars. The wrong tool slips out of the winding cone under tension. This is the single most common cause of serious injury in garage door DIY work, and it happens in every city, Suffolk included. Don’t do it.
- Greasing the tracks. A lot of online advice says to grease the tracks. Don’t. Grease collects grit and makes rollers drag. Clean the tracks and lubricate the rollers and hinges instead.
- Replacing one spring when the pair is due. A spring that fails is telling you something about its twin. Replacing one spring on a matched pair leaves the door out of balance and puts the older spring on borrowed time.
- Ignoring an opener that reverses for no reason. An opener that reverses on its own is usually telling you the force settings are wrong or the door is binding. Keep pressing the button and you’ll burn out the motor or trip the safety system permanently.
- Adjusting track brackets with the door raised. Track adjustments done with the door up can release stored tension suddenly. If you’re going to touch track at all, it’s only when the door is down and the springs are relaxed.
- Assuming the opener is the problem when the door is. Nine times out of ten, a “dead opener” is a door that’s out of balance or a spring that’s lost tension. Replacing the opener fixes the symptom and leaves the cause.
- Waiting on a door that won’t close. A door stuck open is a security problem, not a scheduling problem. In a Suffolk neighborhood, that’s the difference between a repair call and a break-in.
See the difference
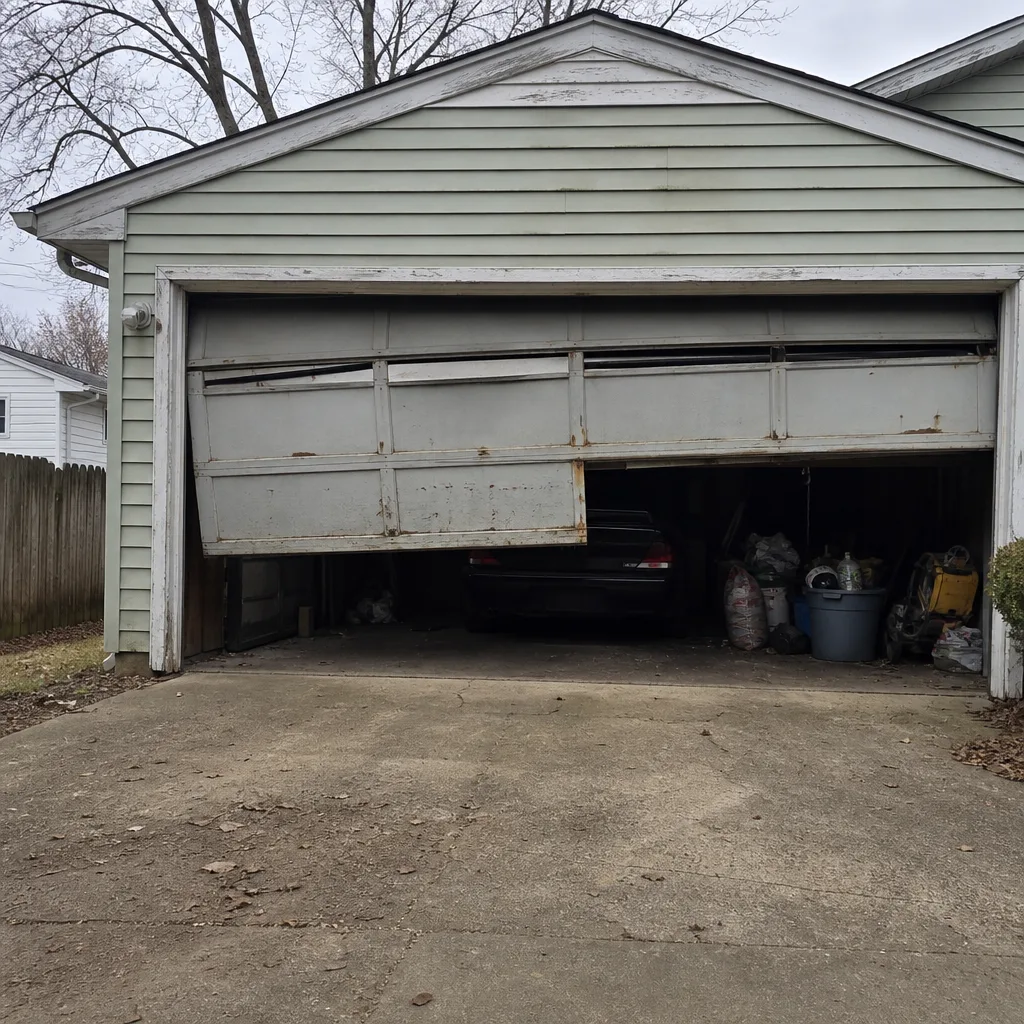 Before
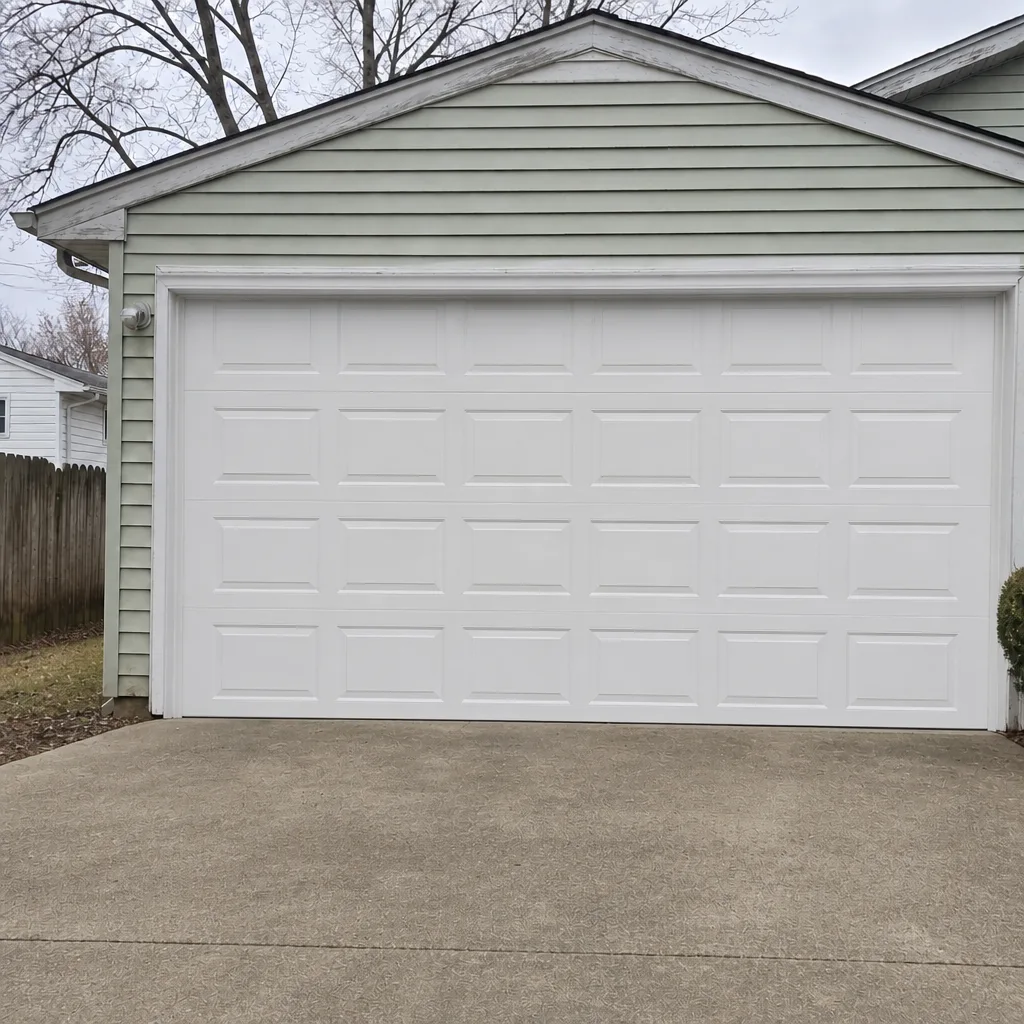 After
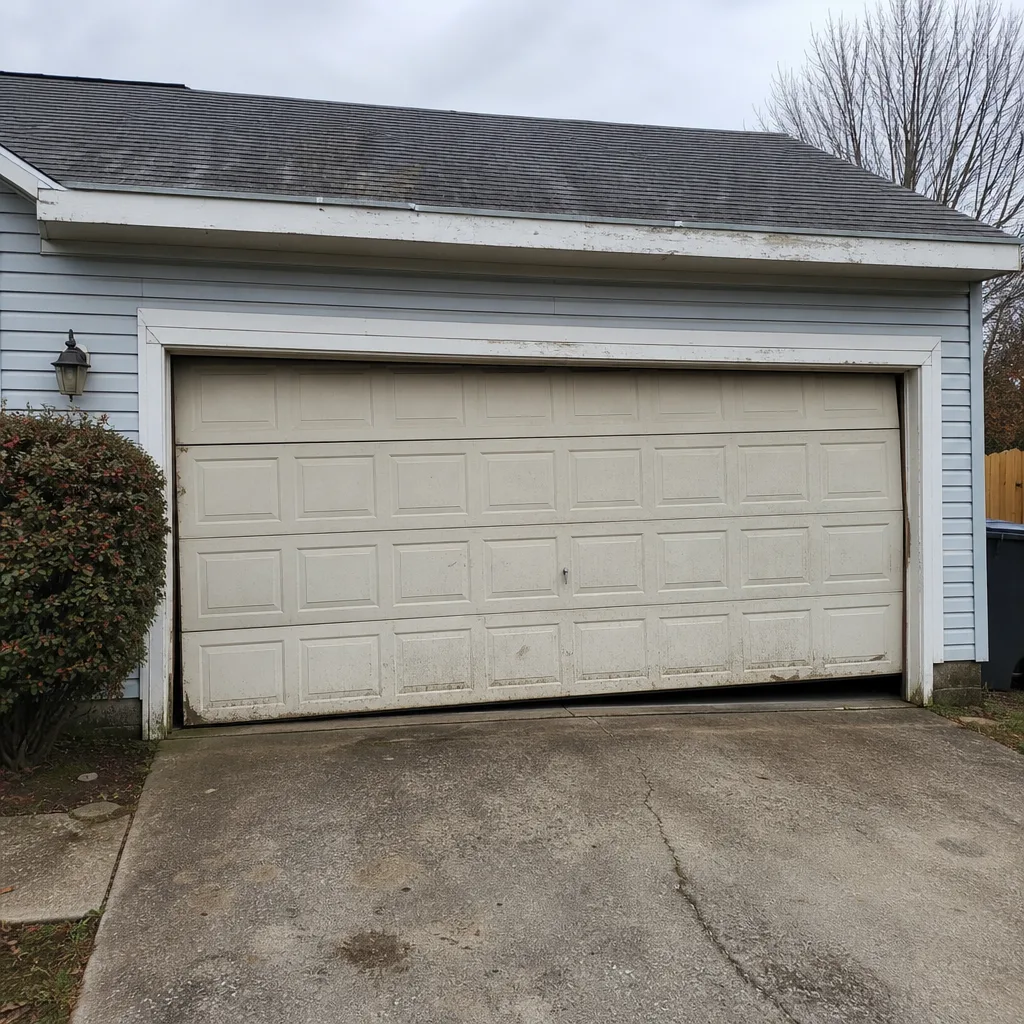 Before
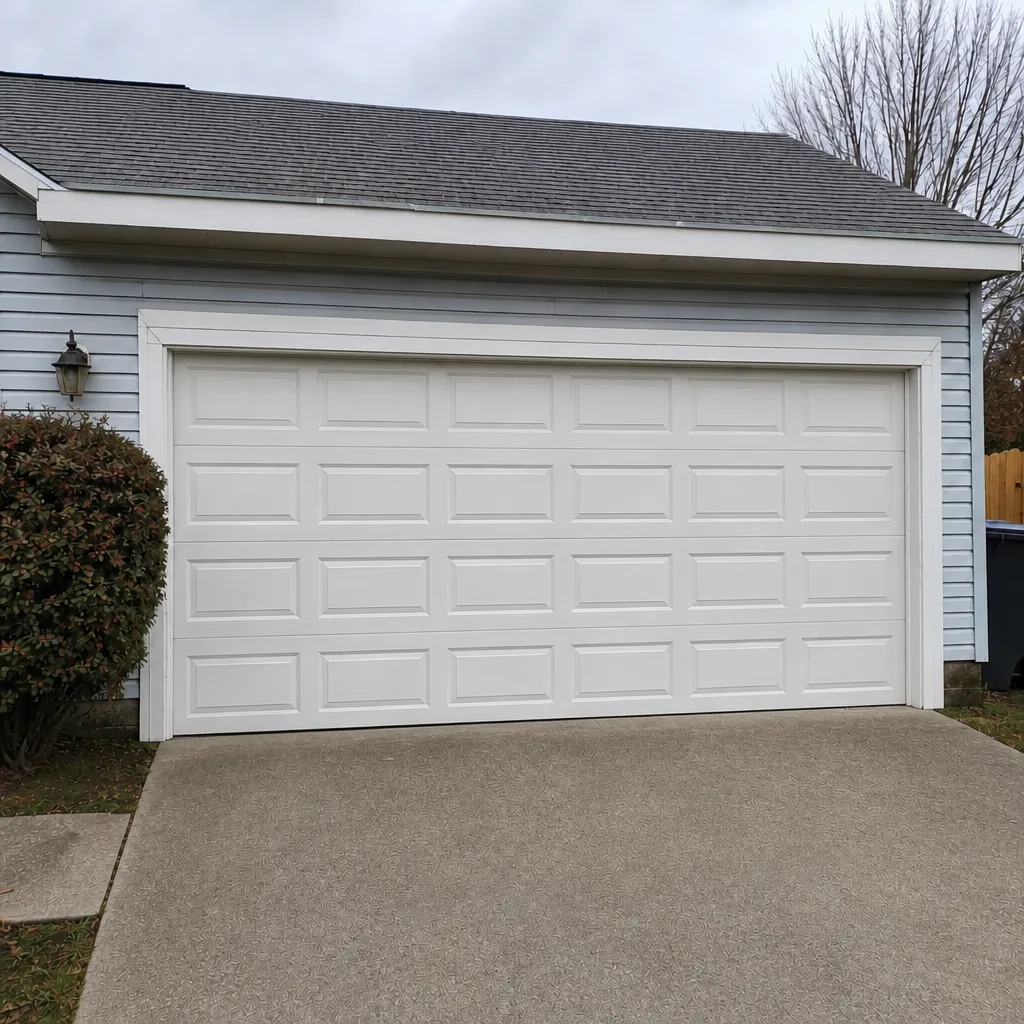 After
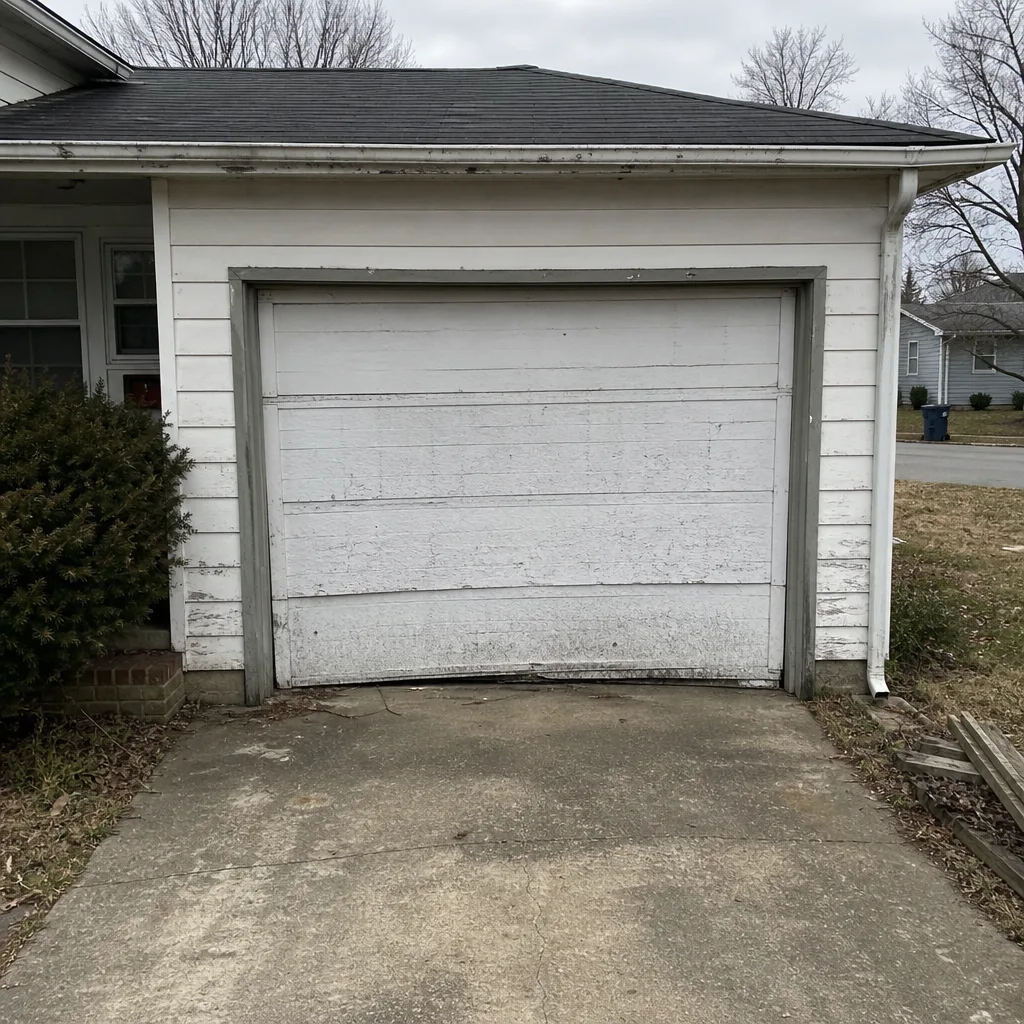 Before
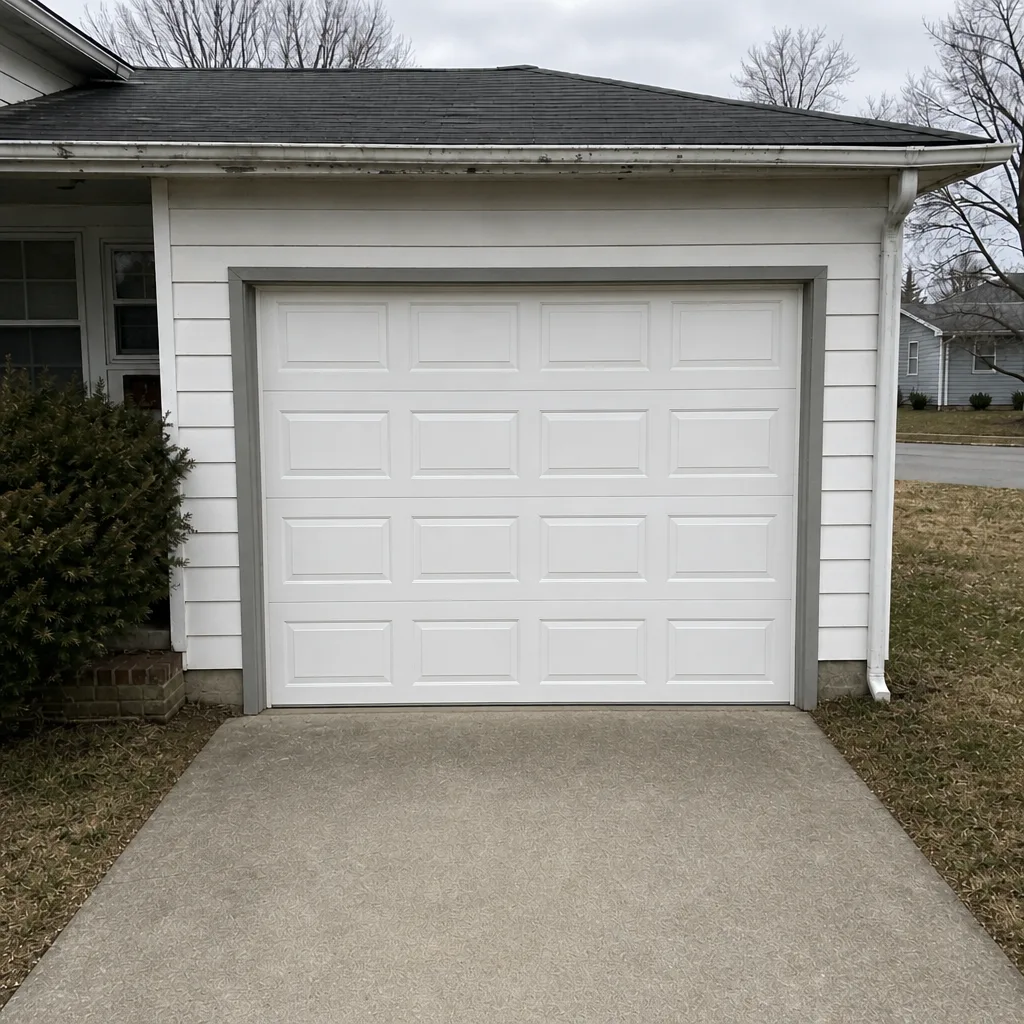 After
When to Call a Professional
Call a professional the moment any of the following is true: the door won’t open or close; a spring has snapped or looks stretched; a cable is frayed or hanging; the door has come off its tracks; the opener hums but doesn’t move the door; the door reverses on its own; or you’ve found broken hardware anywhere in the mechanism. All of these involve stored energy or a system that’s already failed, and there’s no version of the repair that’s safer done by hand.
Suffolk Garage Door Repair Pros offers free estimates in Suffolk – call (855) 894-0378. We answer 24/7. Fast dispatch from 7am to 7pm, Sunday through Friday. Whether you need Suffolk Garage Door Repair Pros for a stuck door tonight or a written estimate for a scheduled replacement, the price is quoted and agreed before any work starts. Our technicians have up to 9 years of experience, and they’ll check the whole door rather than just the part you called about.
If your garage door work is genuinely minor – a seal, a sensor, a remote – do it yourself and keep the money. If the work involves springs, cables, tracks under tension, or a warranty you’d like to keep intact, that’s the line. Call us instead.
Frequently Asked Questions
No, and we’d advise against it even if you’ve watched tutorials. Torsion and extension springs are under enough tension to cause serious injury when they release unexpectedly, and the winding process requires specific bars and a spring rated for your door’s weight. The cost of the tools alone approaches the cost of professional spring replacement. Call (855) 894-0378 for a free estimate – the price is agreed before any work starts.
It can affect a claim, depending on your policy. Many homeowner policies exclude damage caused by faulty workmanship, so a door that fails after an improper repair may not be covered, though injury to others typically still is. The specifics depend on your carrier. Read your policy and ask your agent about the exclusion language before you decide to do the work yourself.
Spring replacement is priced per spring, and because springs are usually replaced in matched pairs, a pair typically costs about twice a single spring. The exact price depends on the door’s weight and the spring size. A written estimate sets the final price – call (855) 894-0378 and we’ll quote it before any work begins. Estimates are free.
Lubricating hinges and rollers, cleaning tracks, replacing the bottom weather seal, aligning or cleaning safety sensors, and programming remotes and keypads are all safe for a homeowner. These are the routine maintenance tasks that extend the life of the door. Anything involving springs, cables, drums, or track adjustment under tension should go to a technician.
We schedule same-day service for emergency garage door situations in Suffolk, including doors stuck open, stuck closed, or off their tracks. Call (855) 894-0378. We answer 24/7. Fast dispatch from 7am to 7pm, Sunday through Friday. A call outside dispatch hours is booked into the next opening. The price is quoted and agreed before work starts.
It often does, for two reasons. Opening the sealed housing on most opener brands voids the warranty outright, and installing a new opener without recalibrating the door’s force and travel limits can void coverage on the door and the opener together. Our technicians work on LiftMaster, Chamberlain, Genie, Craftsman, and other major brands as complete systems, so the installation stays within the manufacturer’s spec.
The Bottom Line
The DIY question for garage doors has a clean answer once you stop treating it as a skill test. Lubrication, seals, sensors, and remotes are yours to handle, and doing them well will extend the life of your door. Springs, cables, drums, bottom brackets, and track work under tension are a professional job because the stored energy doesn’t care how capable you are. Panel swaps and opener replacements sit in between: technically possible, but commonly done in a way that voids the warranty and leaves the door out of balance. In Suffolk, the tool investment for a one-time spring job rarely makes sense, and the liability exposure rarely ends well.
Match the task to the bucket, keep your hands out of the tension side of the mechanism, and call when the work crosses the line. That’s the whole decision guide in one paragraph.
If you’re past the point of DIY, garage door repair is one call away. So is a full garage door repair estimate if you’re not sure which side of the line your job falls on.
Call (855) 894-0378 for a free estimate. We answer 24/7. Fast dispatch from 7am to 7pm, Sunday through Friday.
Written by the team at Suffolk Garage Door Repair Pros.